Creating an E-Book with Applin Studio: MarkDown Page
Hello, dear Applin enthusiasts!
In this comprehensive guide, we’ll explore one of the most exciting features of Applin Studio: creating an e-book using the MarkDown Page. This powerful tool makes designing digital books simpler and more professional. Follow this step-by-step tutorial to create your very first e-book project!
Introduction to E-Book Pages in Applin
Applin Studio offers a variety of tools for designing digital books. Each page type is tailored for a specific purpose:
Text Page
This page allows you to manually design content with Applin’s native elements.
E-Book Page
Similar to the Text Page, but it lets you design multiple pages within one project, enabling users to easily navigate between pages.
PDF Page
This feature allows you to securely display PDF files in your app while protecting your content.
MarkDown Page
A unique feature that allows you to design content using MarkDown language. Instead of manually arranging elements, simply write your content in MarkDown, and Applin converts it into native elements for you.
For more details, check out the full Introduction to Pages in Applin.
Creating a Project
1. Create a New Project
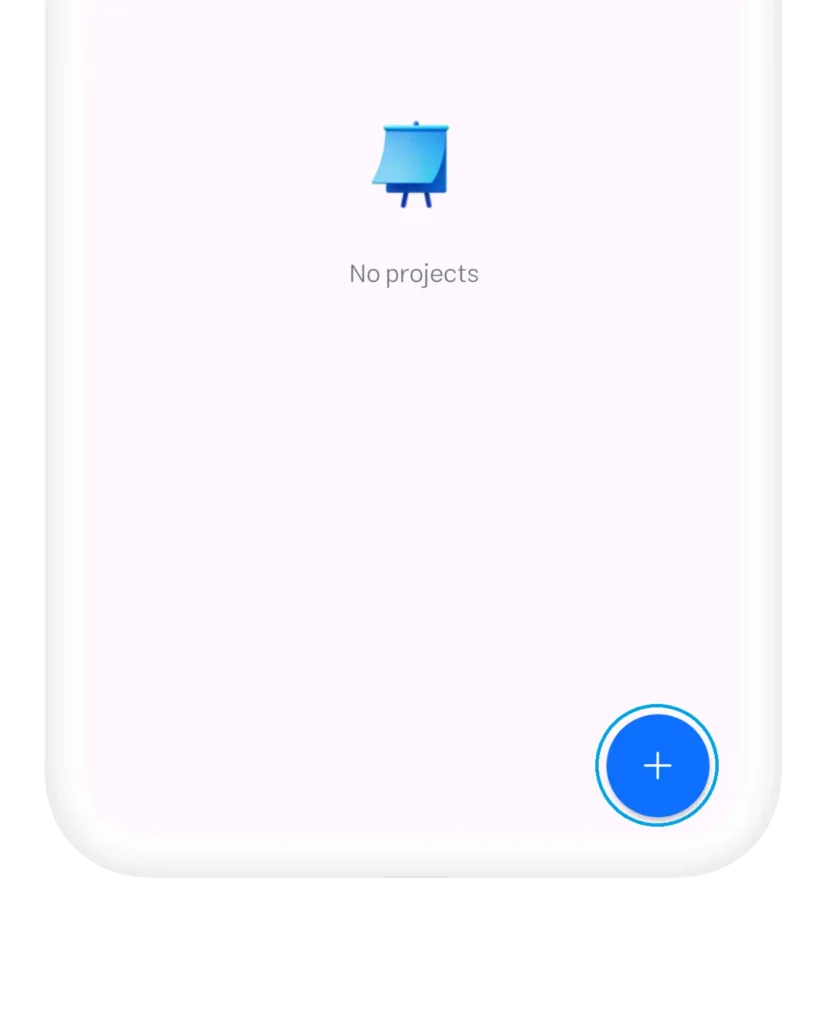
Begin by clicking the “+” button to create your app project.
Choose a Template
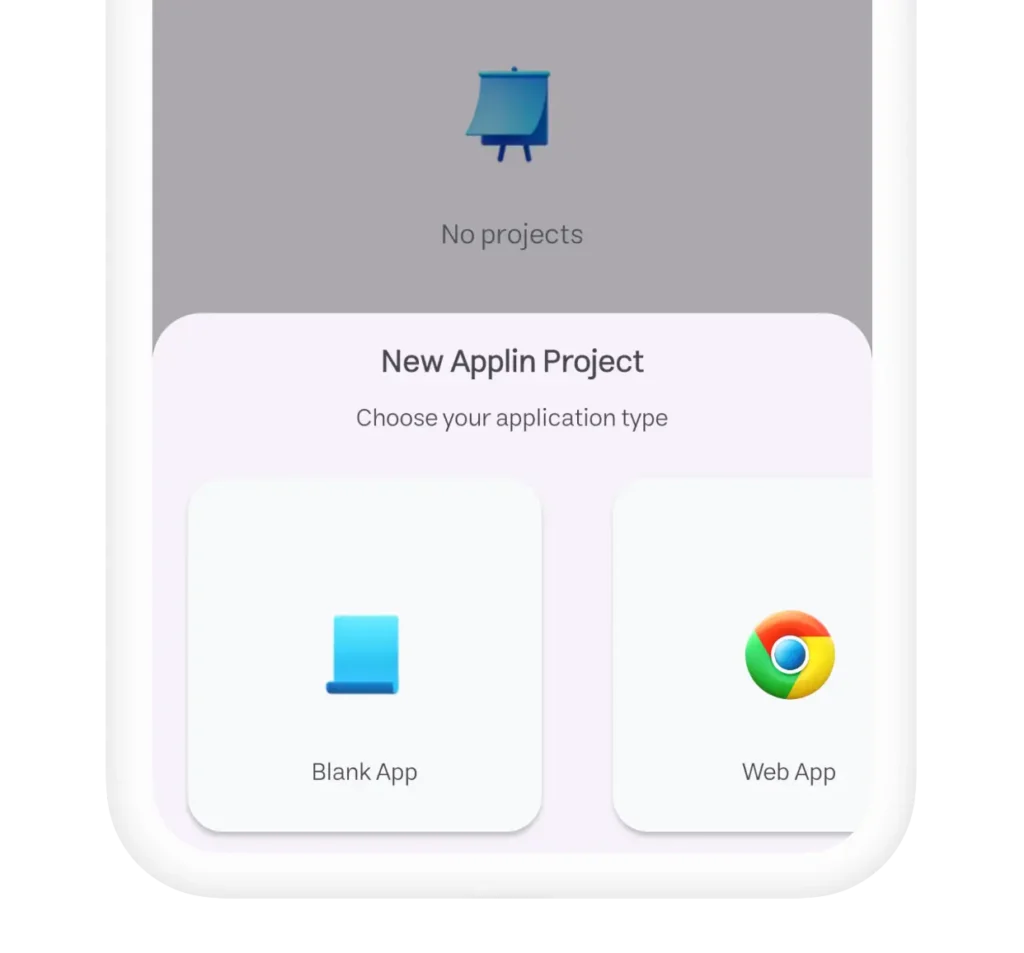
Since we’re focusing on designing a simple e-book, there’s no need for advanced features. Just select the “Blank App” option.
Fill Out the Project Details
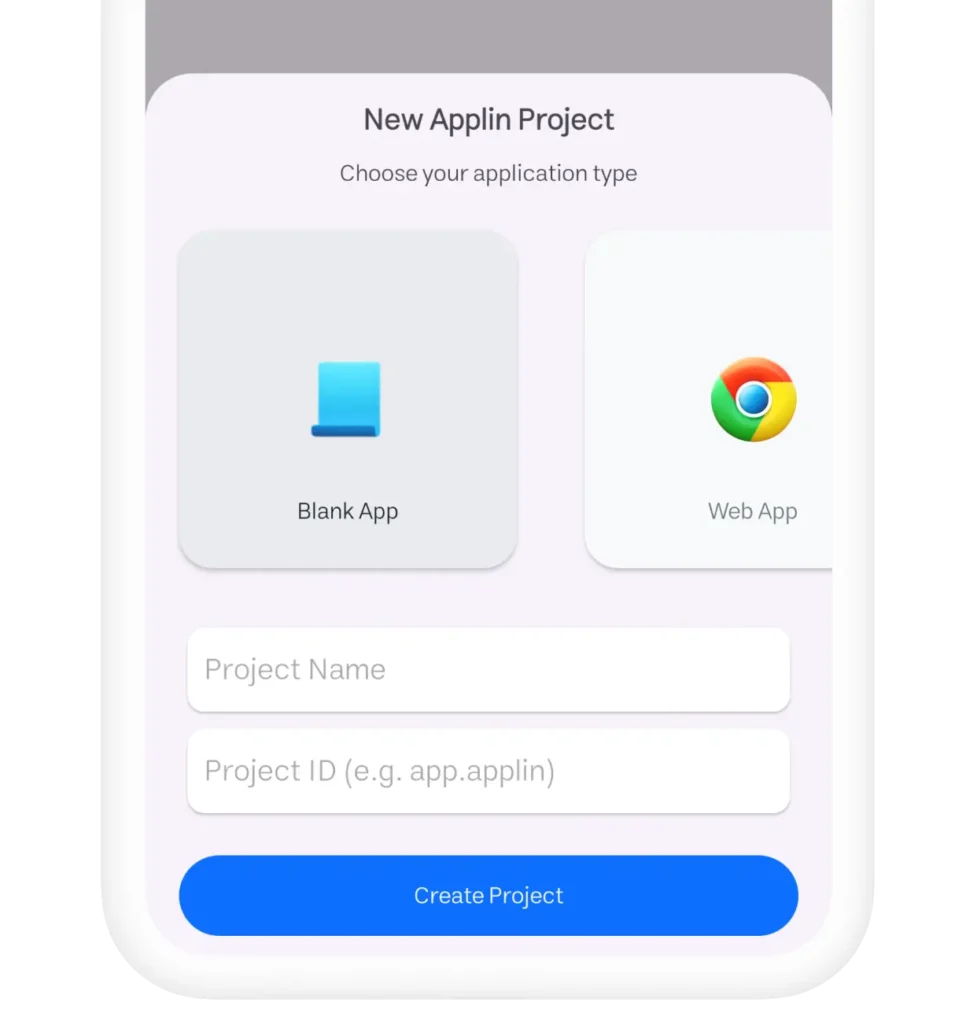
- Project Name: Choose a name for your project.
- Project Identifier: Enter a unique identifier (use valid characters, without spaces).
- Example:
book.love
- Example:
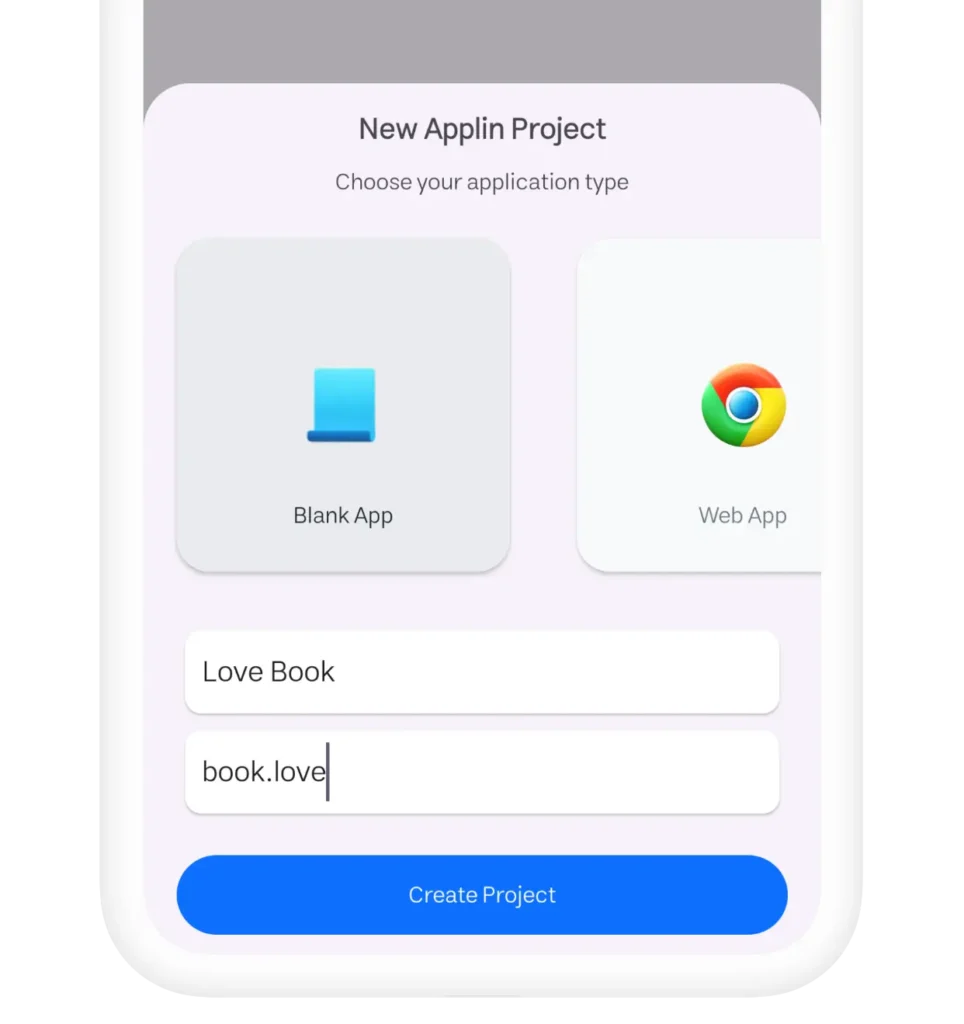
Once you’ve completed these fields, click the “Create Project” button and wait for your project to be generated.
2. Access the Project Management Panel
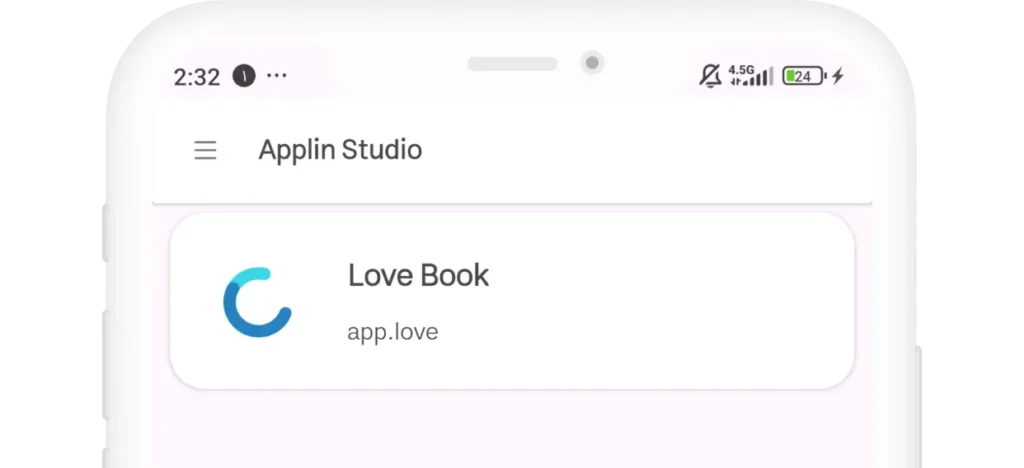
Once your project is created, click on it to access the management panel.
Overview of the Management Panel
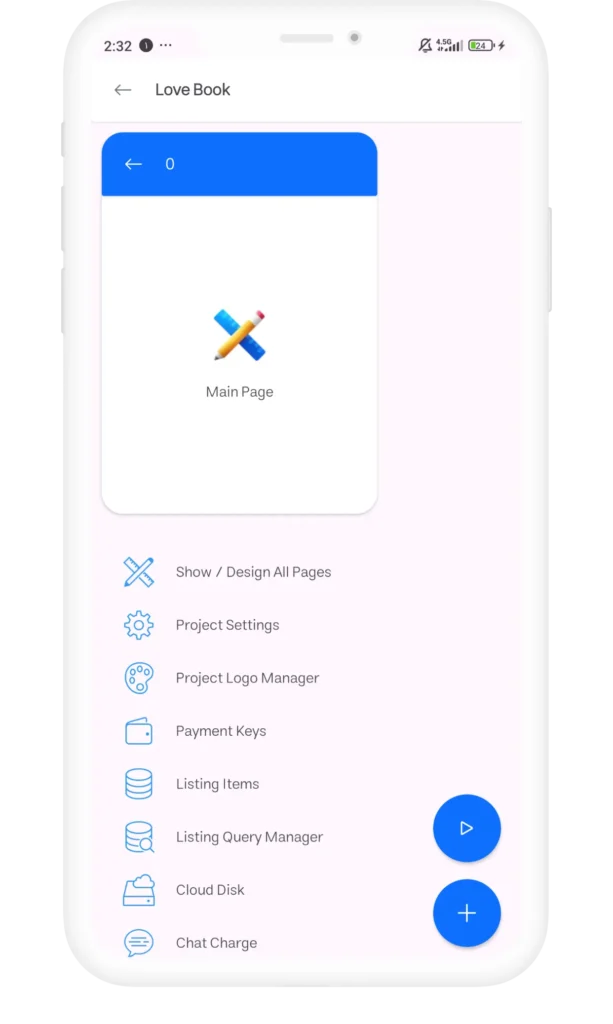
The management panel provides various sections, including:
- Page Designer
- Project Management
- Run Button
- Add Page Option
3. Remove the Default Page
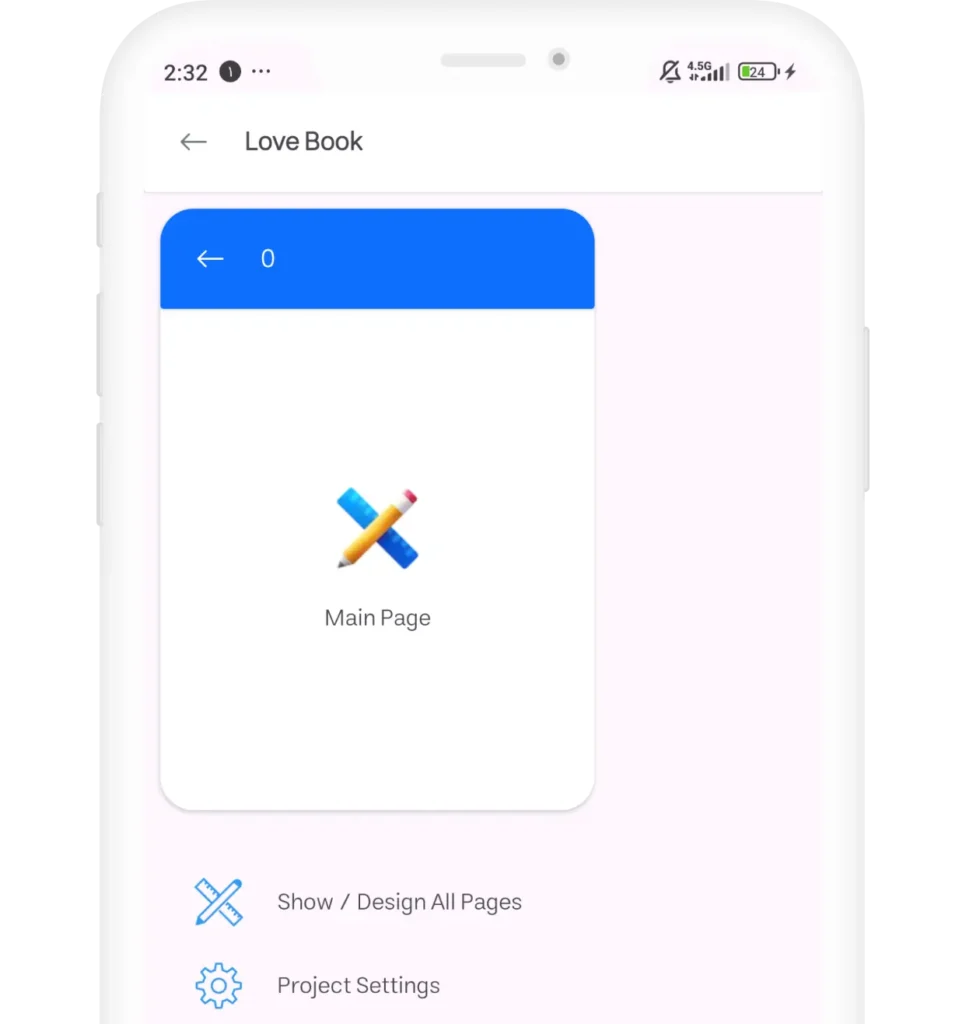
By default, the Main Page is created for every blank app. Since it’s unnecessary for our project, let’s delete it:
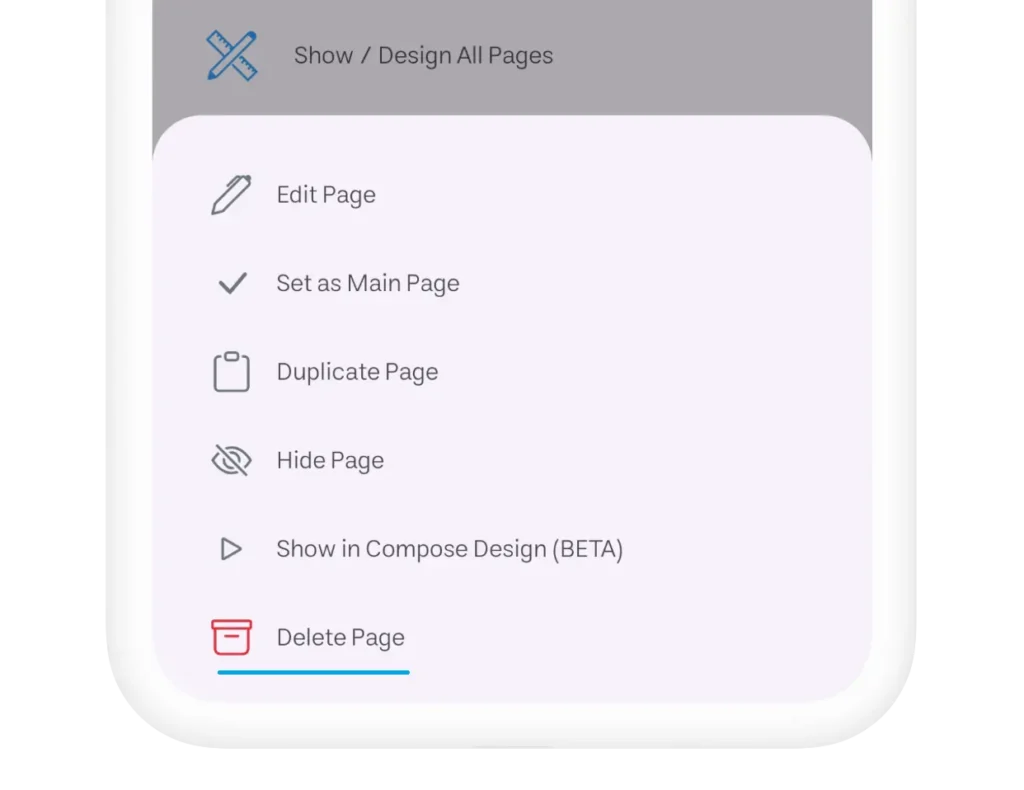
- Long press on the Main Page until a pop-up appears.
- Click “Delete Page” to remove it.
4. Add a MarkDown Page
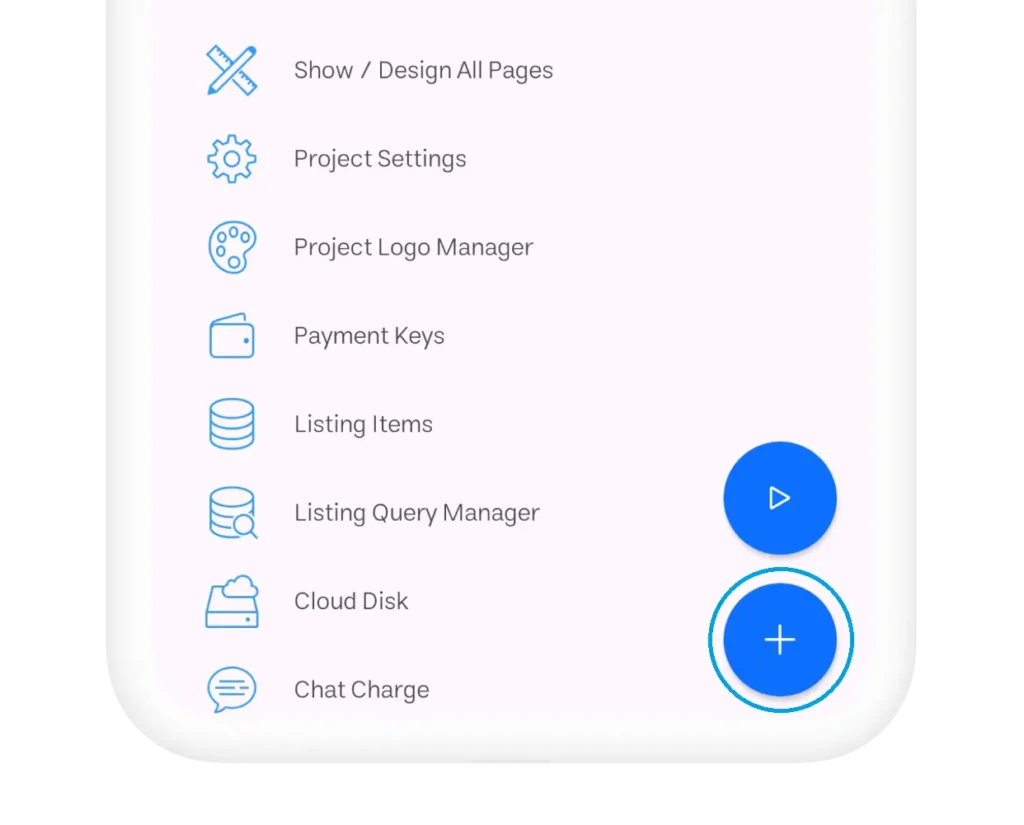
- Click the “+” button to add a new page.
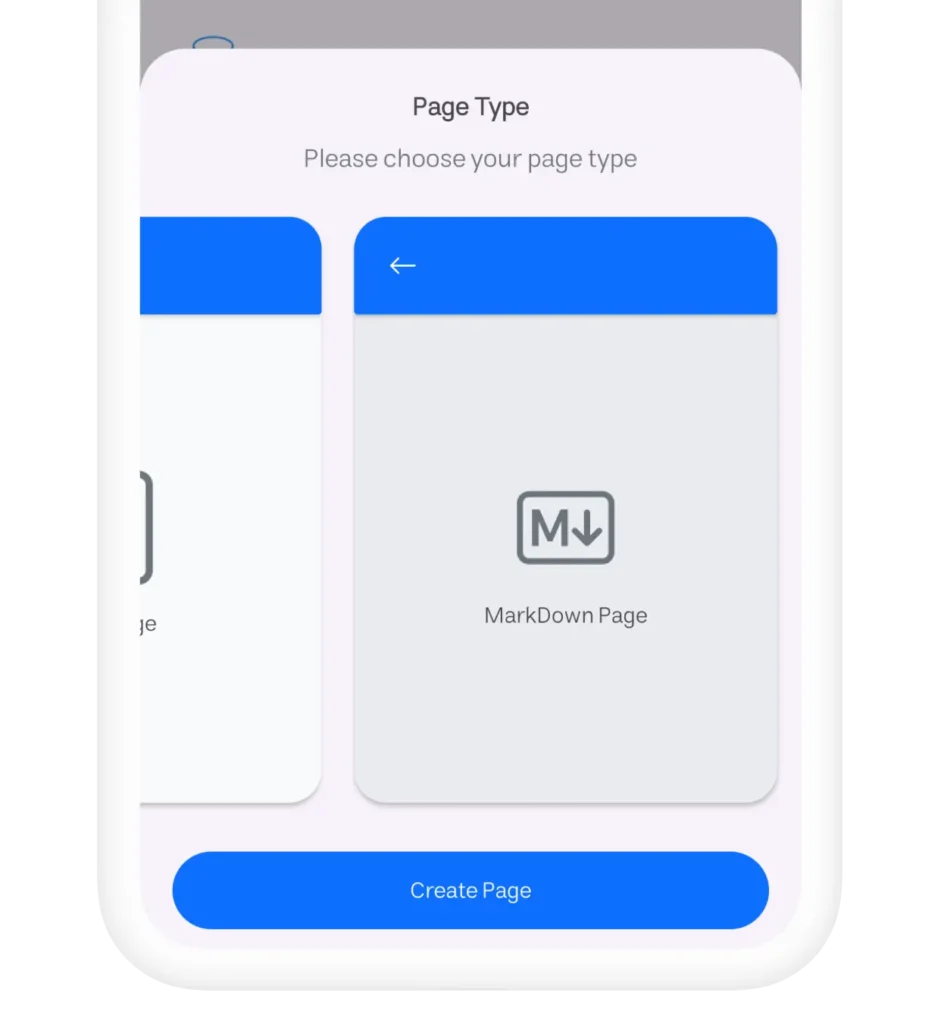
- Select MarkDown Page and then click “Create Page”.
Set MarkDown Page as the Main Page
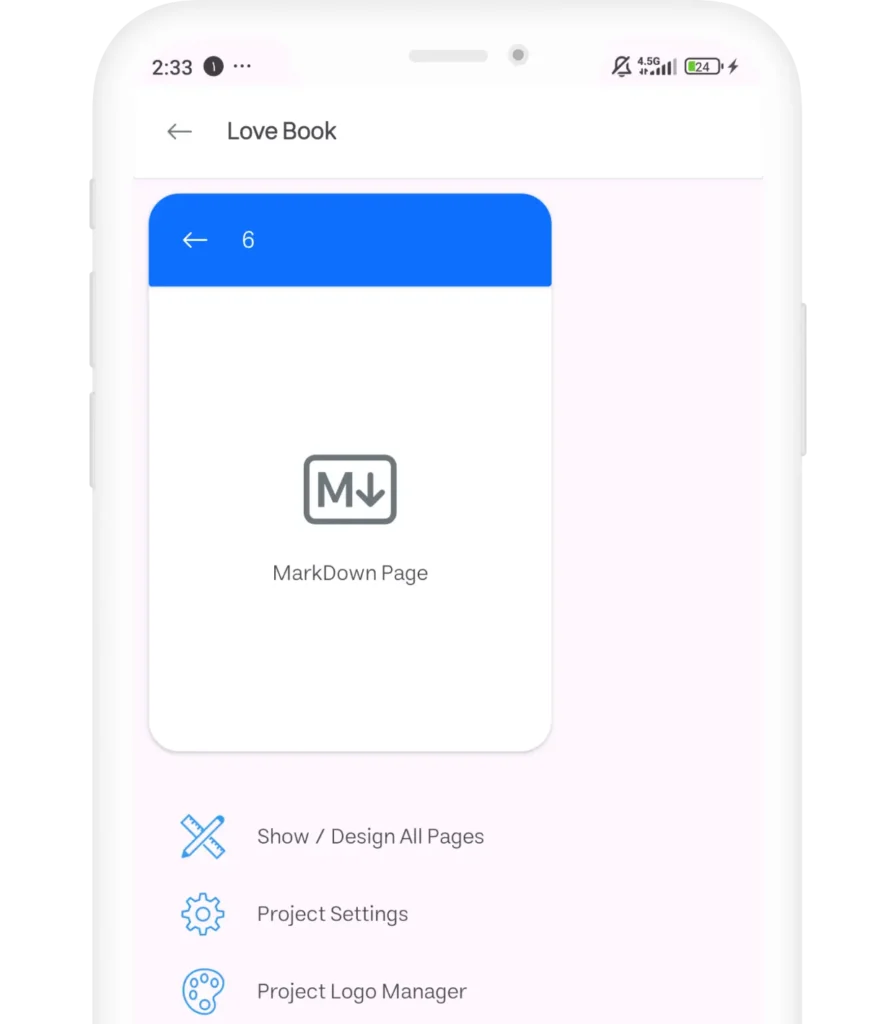
After creating the MarkDown Page:
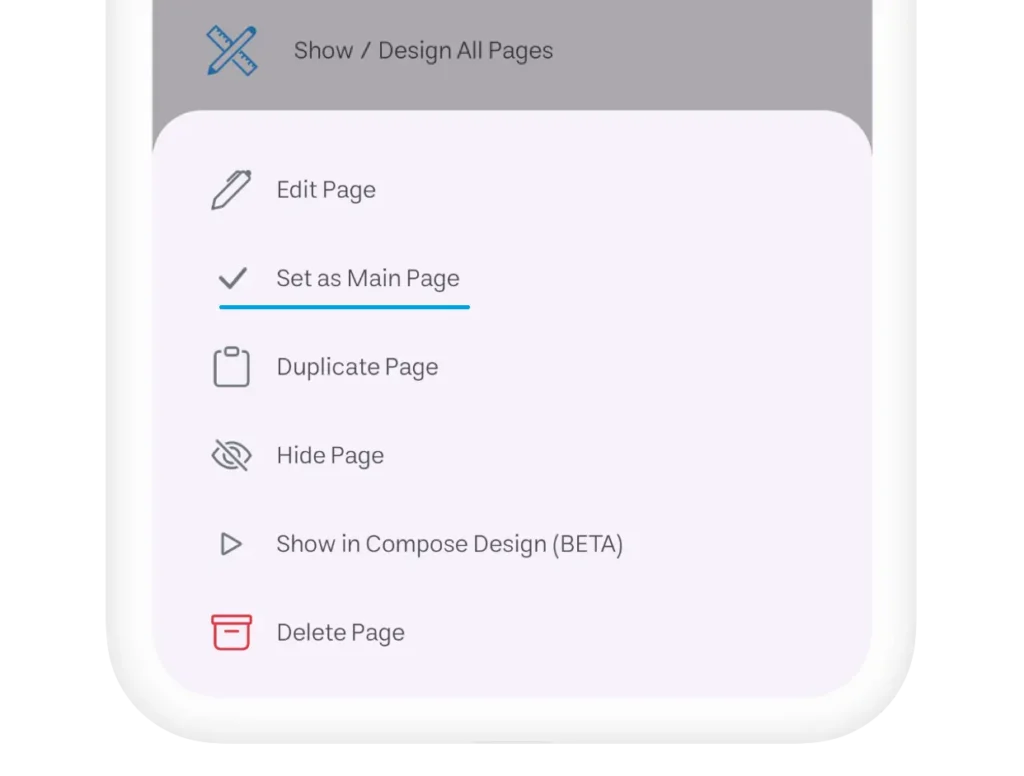
- Long press on the page.
- Select “Set as Main Page” to make it the default starting page of your app.
Designing with the MarkDown Page
1. Open the MarkDown Page

Access the MarkDown Page to begin editing. You’ll see two floating buttons:
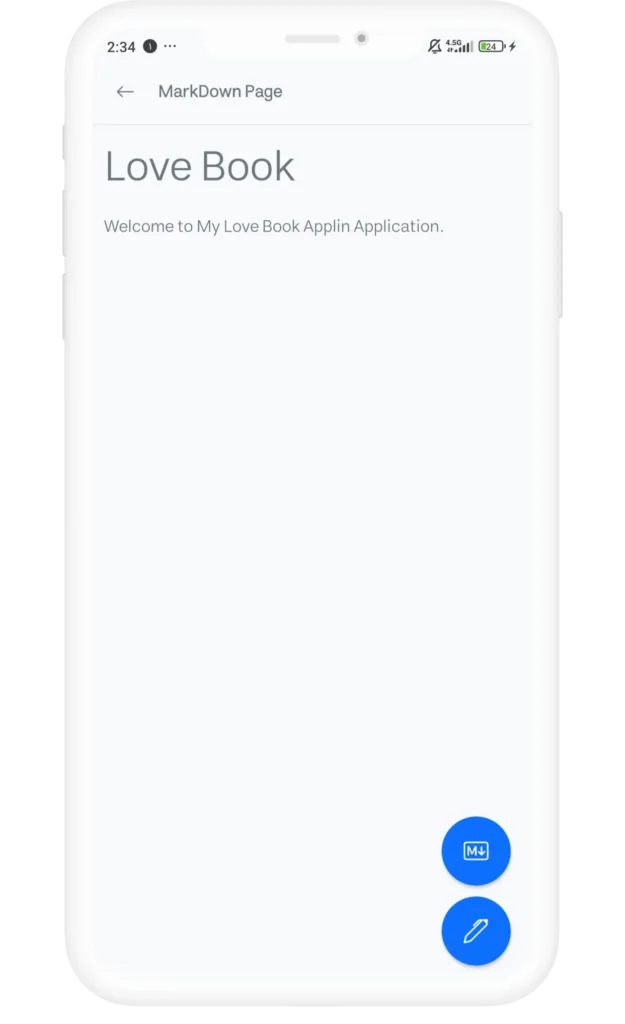
- MarkDown Editor: For editing text in MarkDown language.
- Page Settings: For customizing the page (e.g., colors, styles).
2. Edit MarkDown Content

- Click on the MarkDown Editor button to open the editor.
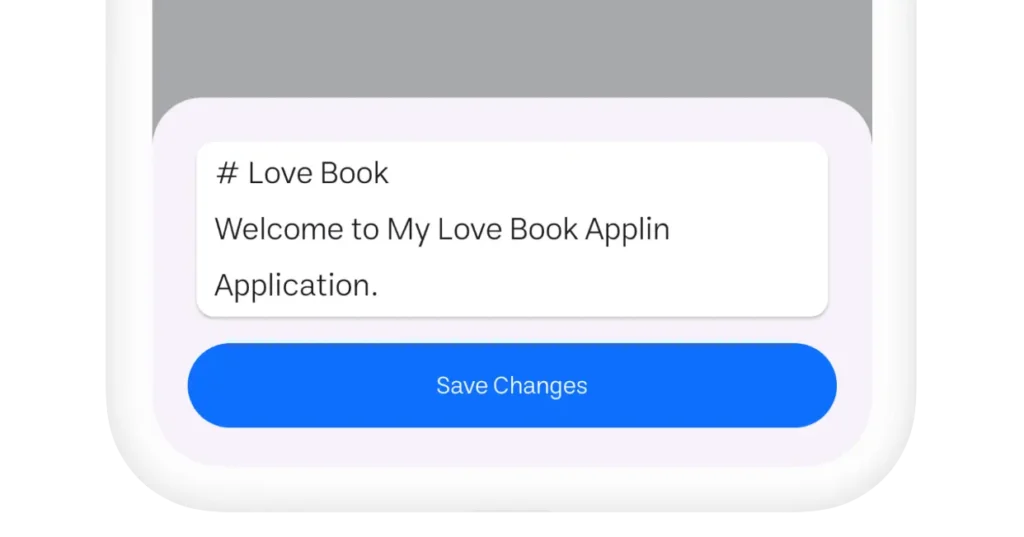
- Enter the following sample text in MarkDown:
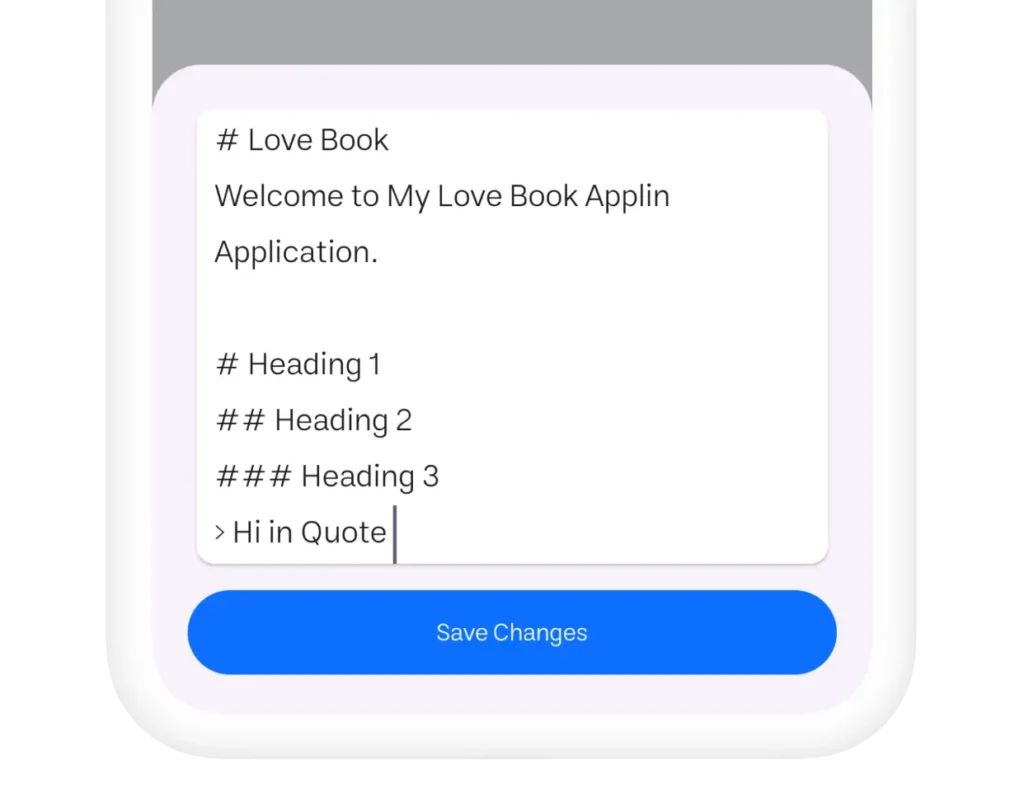
- Save the changes to see the updated content on your page.
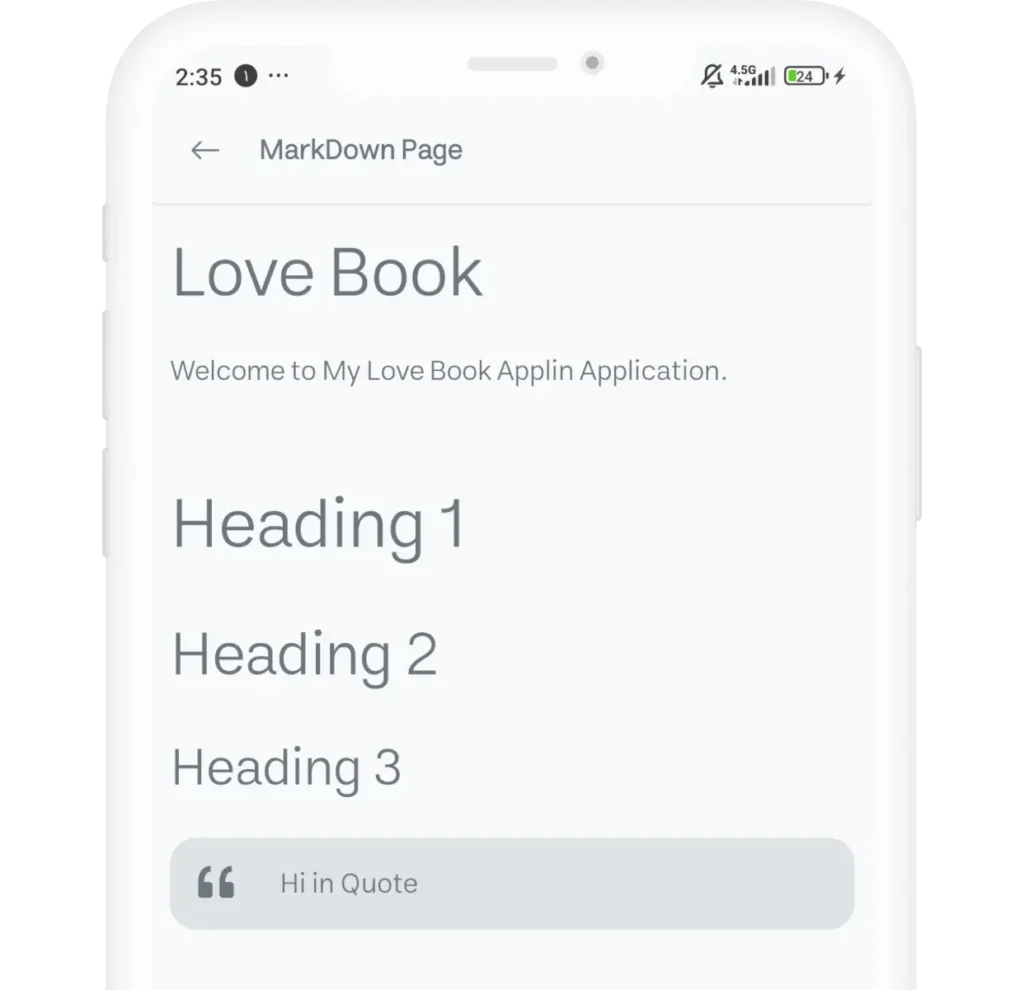
3. Customize the Page
Edit Page Header

- Click on the Page Editor button.
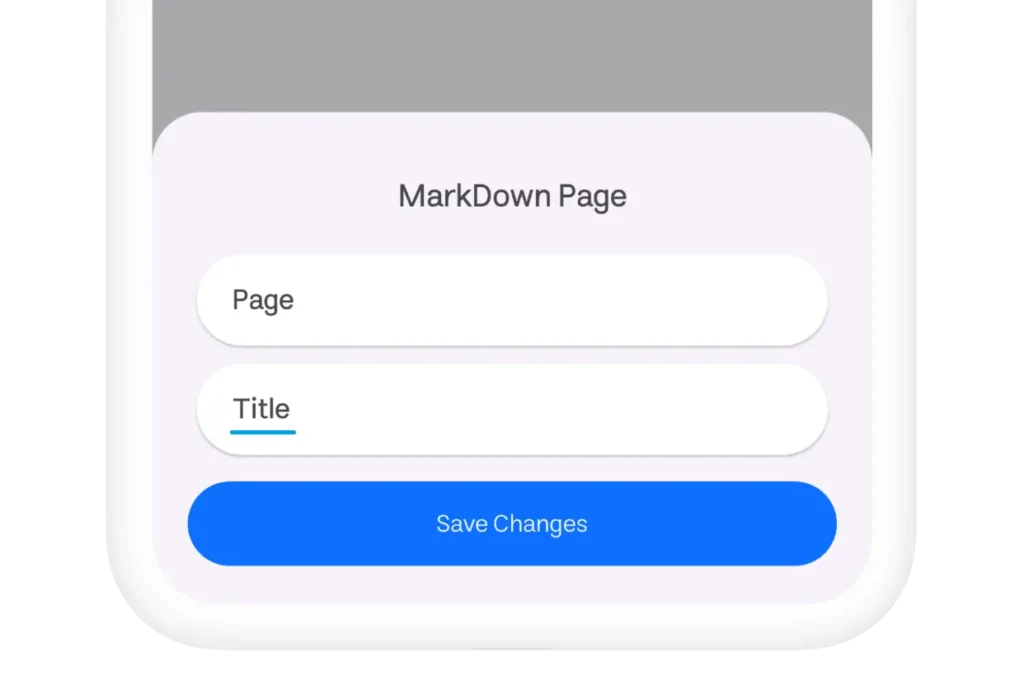
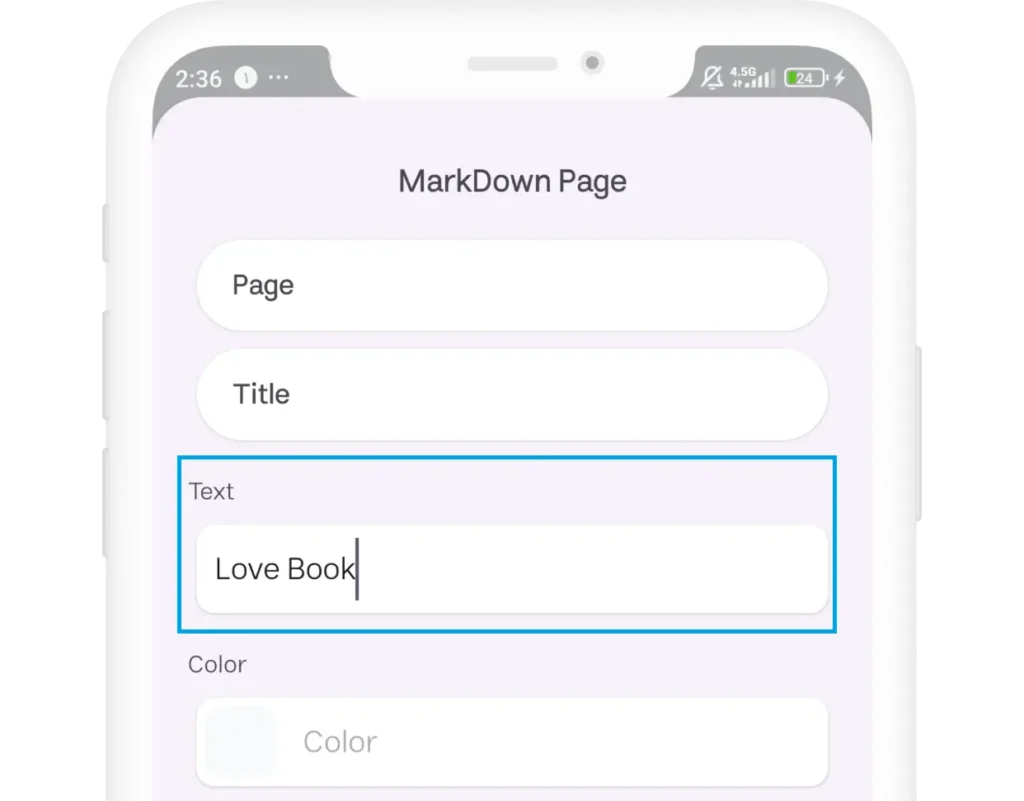
- Go to the Title section and update the text. For example, change it to “Love Book”
Disable Screenshot Feature
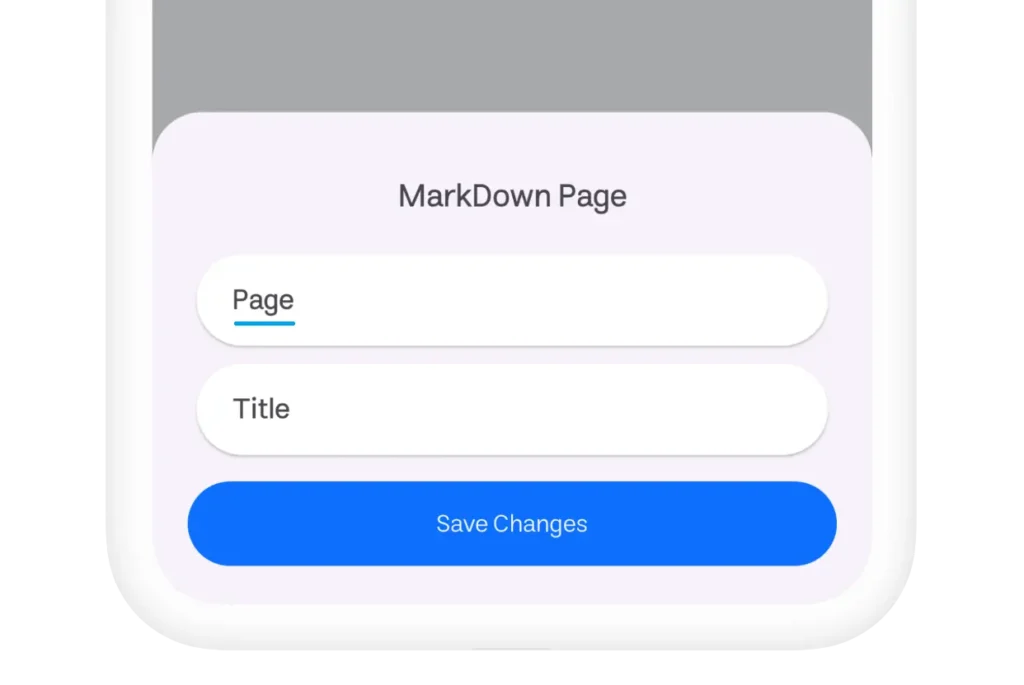
To protect your content from unauthorized distribution:
- Click Page.
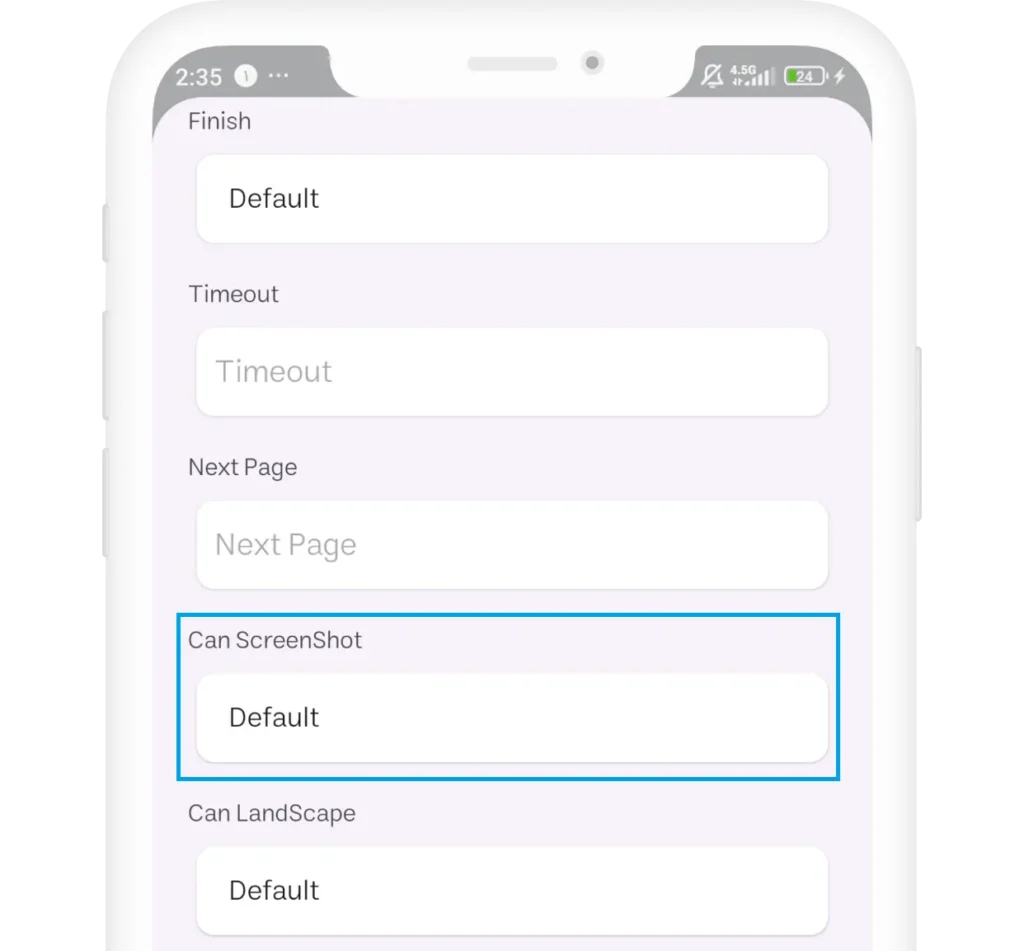
- Locate the CanScreenShot option and set it to False.
Save Changes
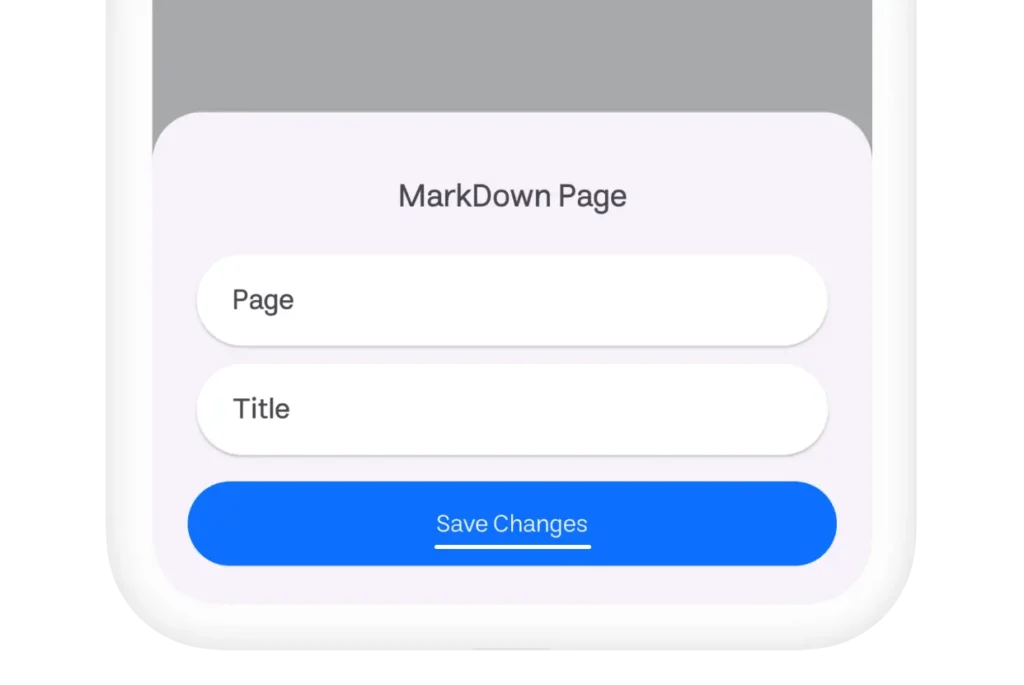
Click Save Changes to apply your updates.
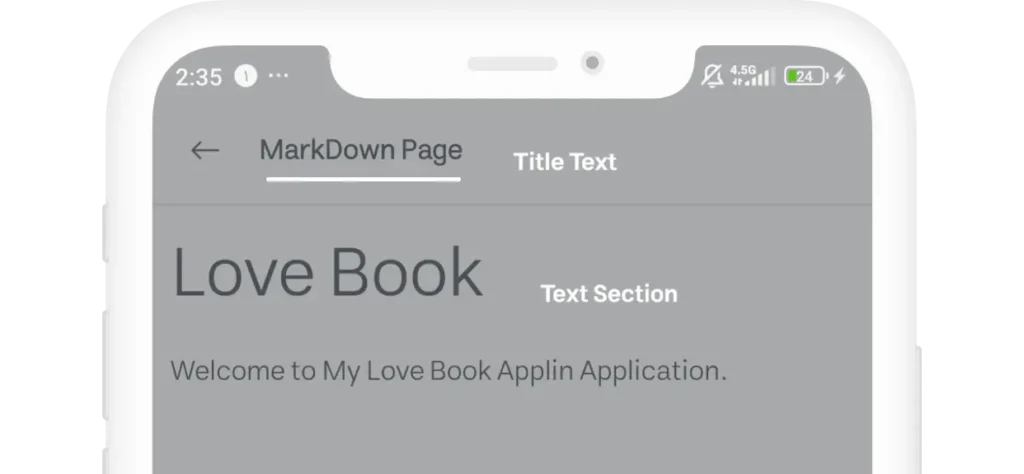
Finalizing and Running Your E-Book
Preview Your Work
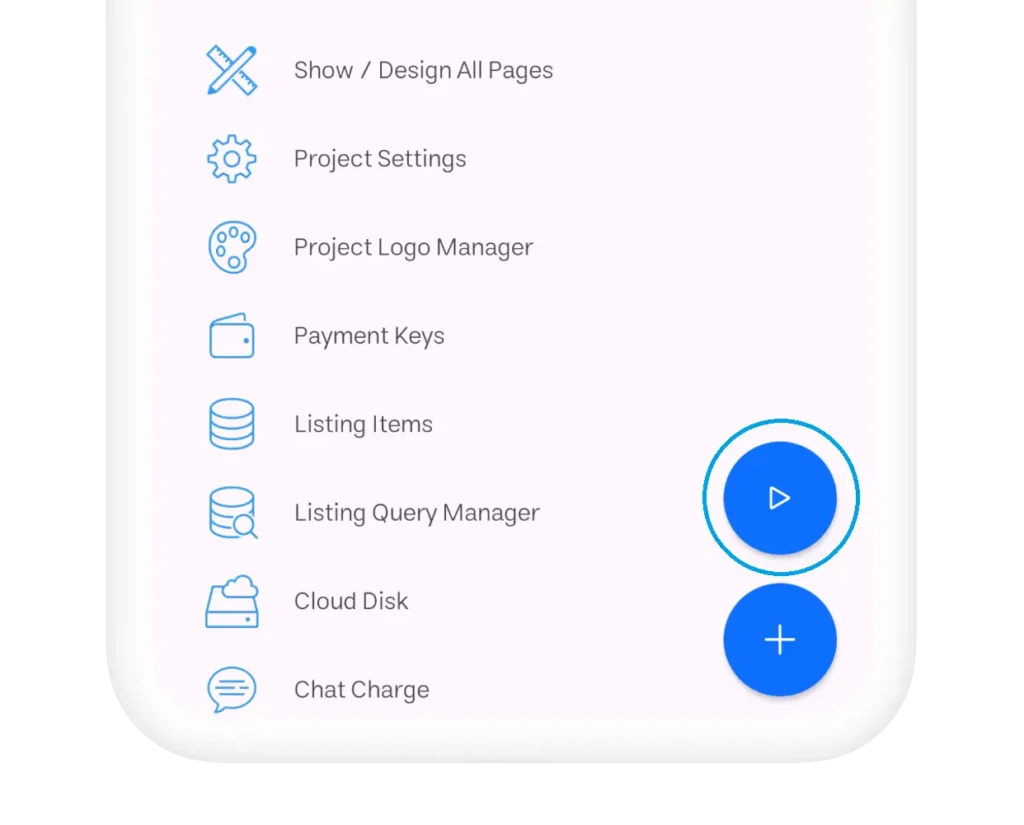
Exit the MarkDown Page and click the floating Run Button to preview your app.
Output Example
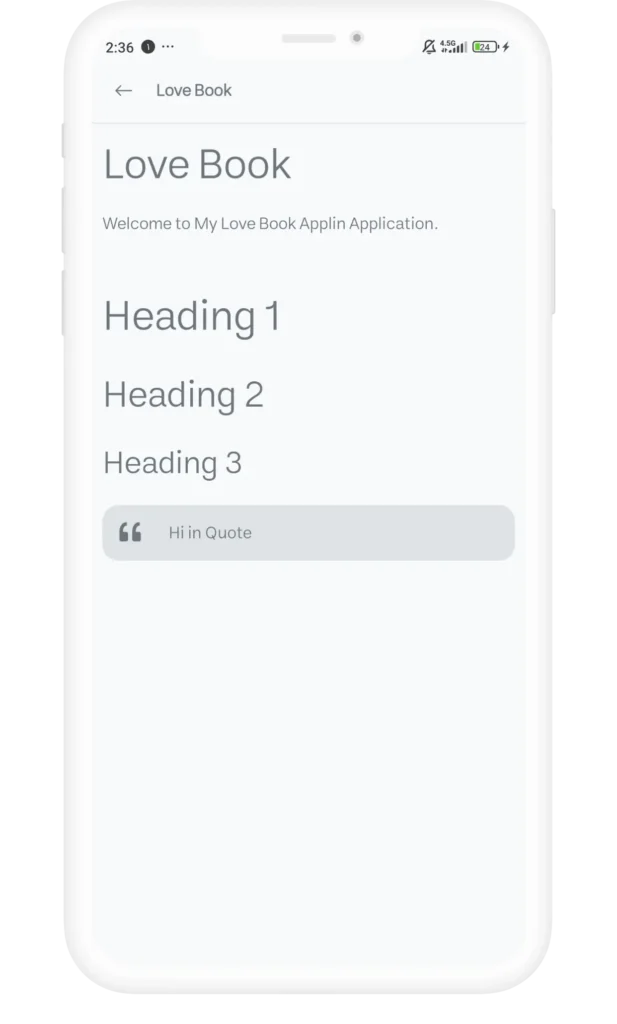
After completing all the steps, your e-book will look something like this:
- A beautifully styled page with your custom content.
- Header: “Love Book”
- Protected content without screenshot capability.
Why Use MarkDown in Applin Studio?
Creating an e-book with Applin Studio’s MarkDown Page is incredibly easy and efficient. Whether you’re designing a novel, a tutorial, or any other type of content, this tool eliminates the need for advanced technical skills.
Stay tuned for more tutorials where we’ll explore additional features of Applin Studio. Happy app-building! 😊


Comments